The Tale of Gear Two Shift Solenoid
Replacing the clutch assembly and rebuilding the mechatronics unit
This is my adventure, issues, tips and tricks, and general thoughts while replacing a clutch assembly and rebuilding a mechatronics unit on a 2013 Audi S7. This is not meant to be a guide for how to replace the clutch assembly or rebuild the mechatronics unit.
Transmission Removal
 |
| Whole exhaust has to come off |
 |
| Including Downpipes |
If you have factory downpipes with catalytic converters, this is a chore by itself. Note the firewall heat shielding is removed. This gives just a little extra space to get the downpipes off.
 |
| Each axle has a heat shield above it that needs removed. The front bolt on the driver side axle is a giant pain. These may have been left off on reassembly. |
 |
| Upper driveshaft bolts can be tricky to get to. A 13mm (or 1/2") wrench on the triple square can help. |
There is an oetiker clamp on the front spline of the driveshaft that is one use. Also, the driveshaft bolts are torque to yield and one use also. ECS Tuning makes a driveshaft install kit with most of the OEM hardware (not the oetiker clamp) here:
https://www.ecstuning.com/b-genuine-volkswagen-audi-parts/drive-shaft-hardware-kit/8k0521142akt/
In order to get the driveshaft to clear the rear lower subframe mount, the two front subframe bolts need to be loosened (NOT REMOVED) to let the subframe sag approximately 40mm (1.5").
 |
| It helps to have a second set of hands. |
I didn't get a lot of pictures of the actual removal. Just mostly following steps from the Erwin documents. Things to note though:
- Bolts holding the transaxle to the engine block are aluminum and documents say they can only be reused once. It states to mark an "X" on the head of the bolt to signify this is it's second use. If your driveshaft bolts already have an "X", I would recommend ordering replacements.
- Longer driveshaft bolts are on top vs. shorter on bottom.
- One starter bolt is steel and is extra tricky to get out (and put back in).
- Longest transaxle bolt (approx 450mm, 18" long) is a through hole bolt and has a nut on other side of engine block. I did not see this mentioned and the nut fell onto the power steering rack.
- When lowering the transaxle, the shift lever clips in with a simple pressure ball socket mechanism. We were extra concerned with breaking it and initially drove out the roll pin before realizing how it clipped in.
Manual calls out for the special T40272 Engine Damper turning tool. If you don't have it like me, an alternative is to rotate the alternator pulley bolt instead. In our case, the belt was slipping, so we had to get creative to apply some additional pressure to the tensioner.

Rest of removal was pretty uneventful.
 |
| That's a BIG BOY. (Dog is not impressed) |

 |
| Not your run of the mill automatic transmission. |

Clutch assembly cover needs swapped over to the new unit. There is a circlip underneath the shaft seal. Shaft seal needs replaced (p/n 0B5311113F).
Reassembly is pretty straight forward. As mentioned before, longest transaxle bolt is a through hole with the corresponding nut being tricky to get into place and started on bolt. Starter needs to be pushed into approximate location before putting the transaxle back on so the upper bolt can be started. Lower starter bolt is just as much of a pain to get in as it was to get out. Leave the upper starter bolt somewhat loose to allow wiggling of the starter to get it aligned.
Mechatronics removal / rebuild
At this point we removed the mech to rebuild it. This is significantly cheaper than a new mech ($900 vs. ~$2500 plus coding). The kit I acquired from an Audi vendor via a Facebook group contained not only the main repair boards, isolators, but also 4 replacement solenoids and gaskets as well.
 |
| Cheaper than a new unit. |
Removal is pretty straight forward. The main transaxle connector and side filter need to be removed to
be able to drop the mech.

Six of the lower mech bolts need removed to drop the unit. I suggest wearing some form of eye protection as stray DSG fluid is bound to drip on your face and try to drip into your eyeballs, which is not fun.

I scratched marks in the lower cover to indicate which bolts need to come out. Little cheat sheet for future self.

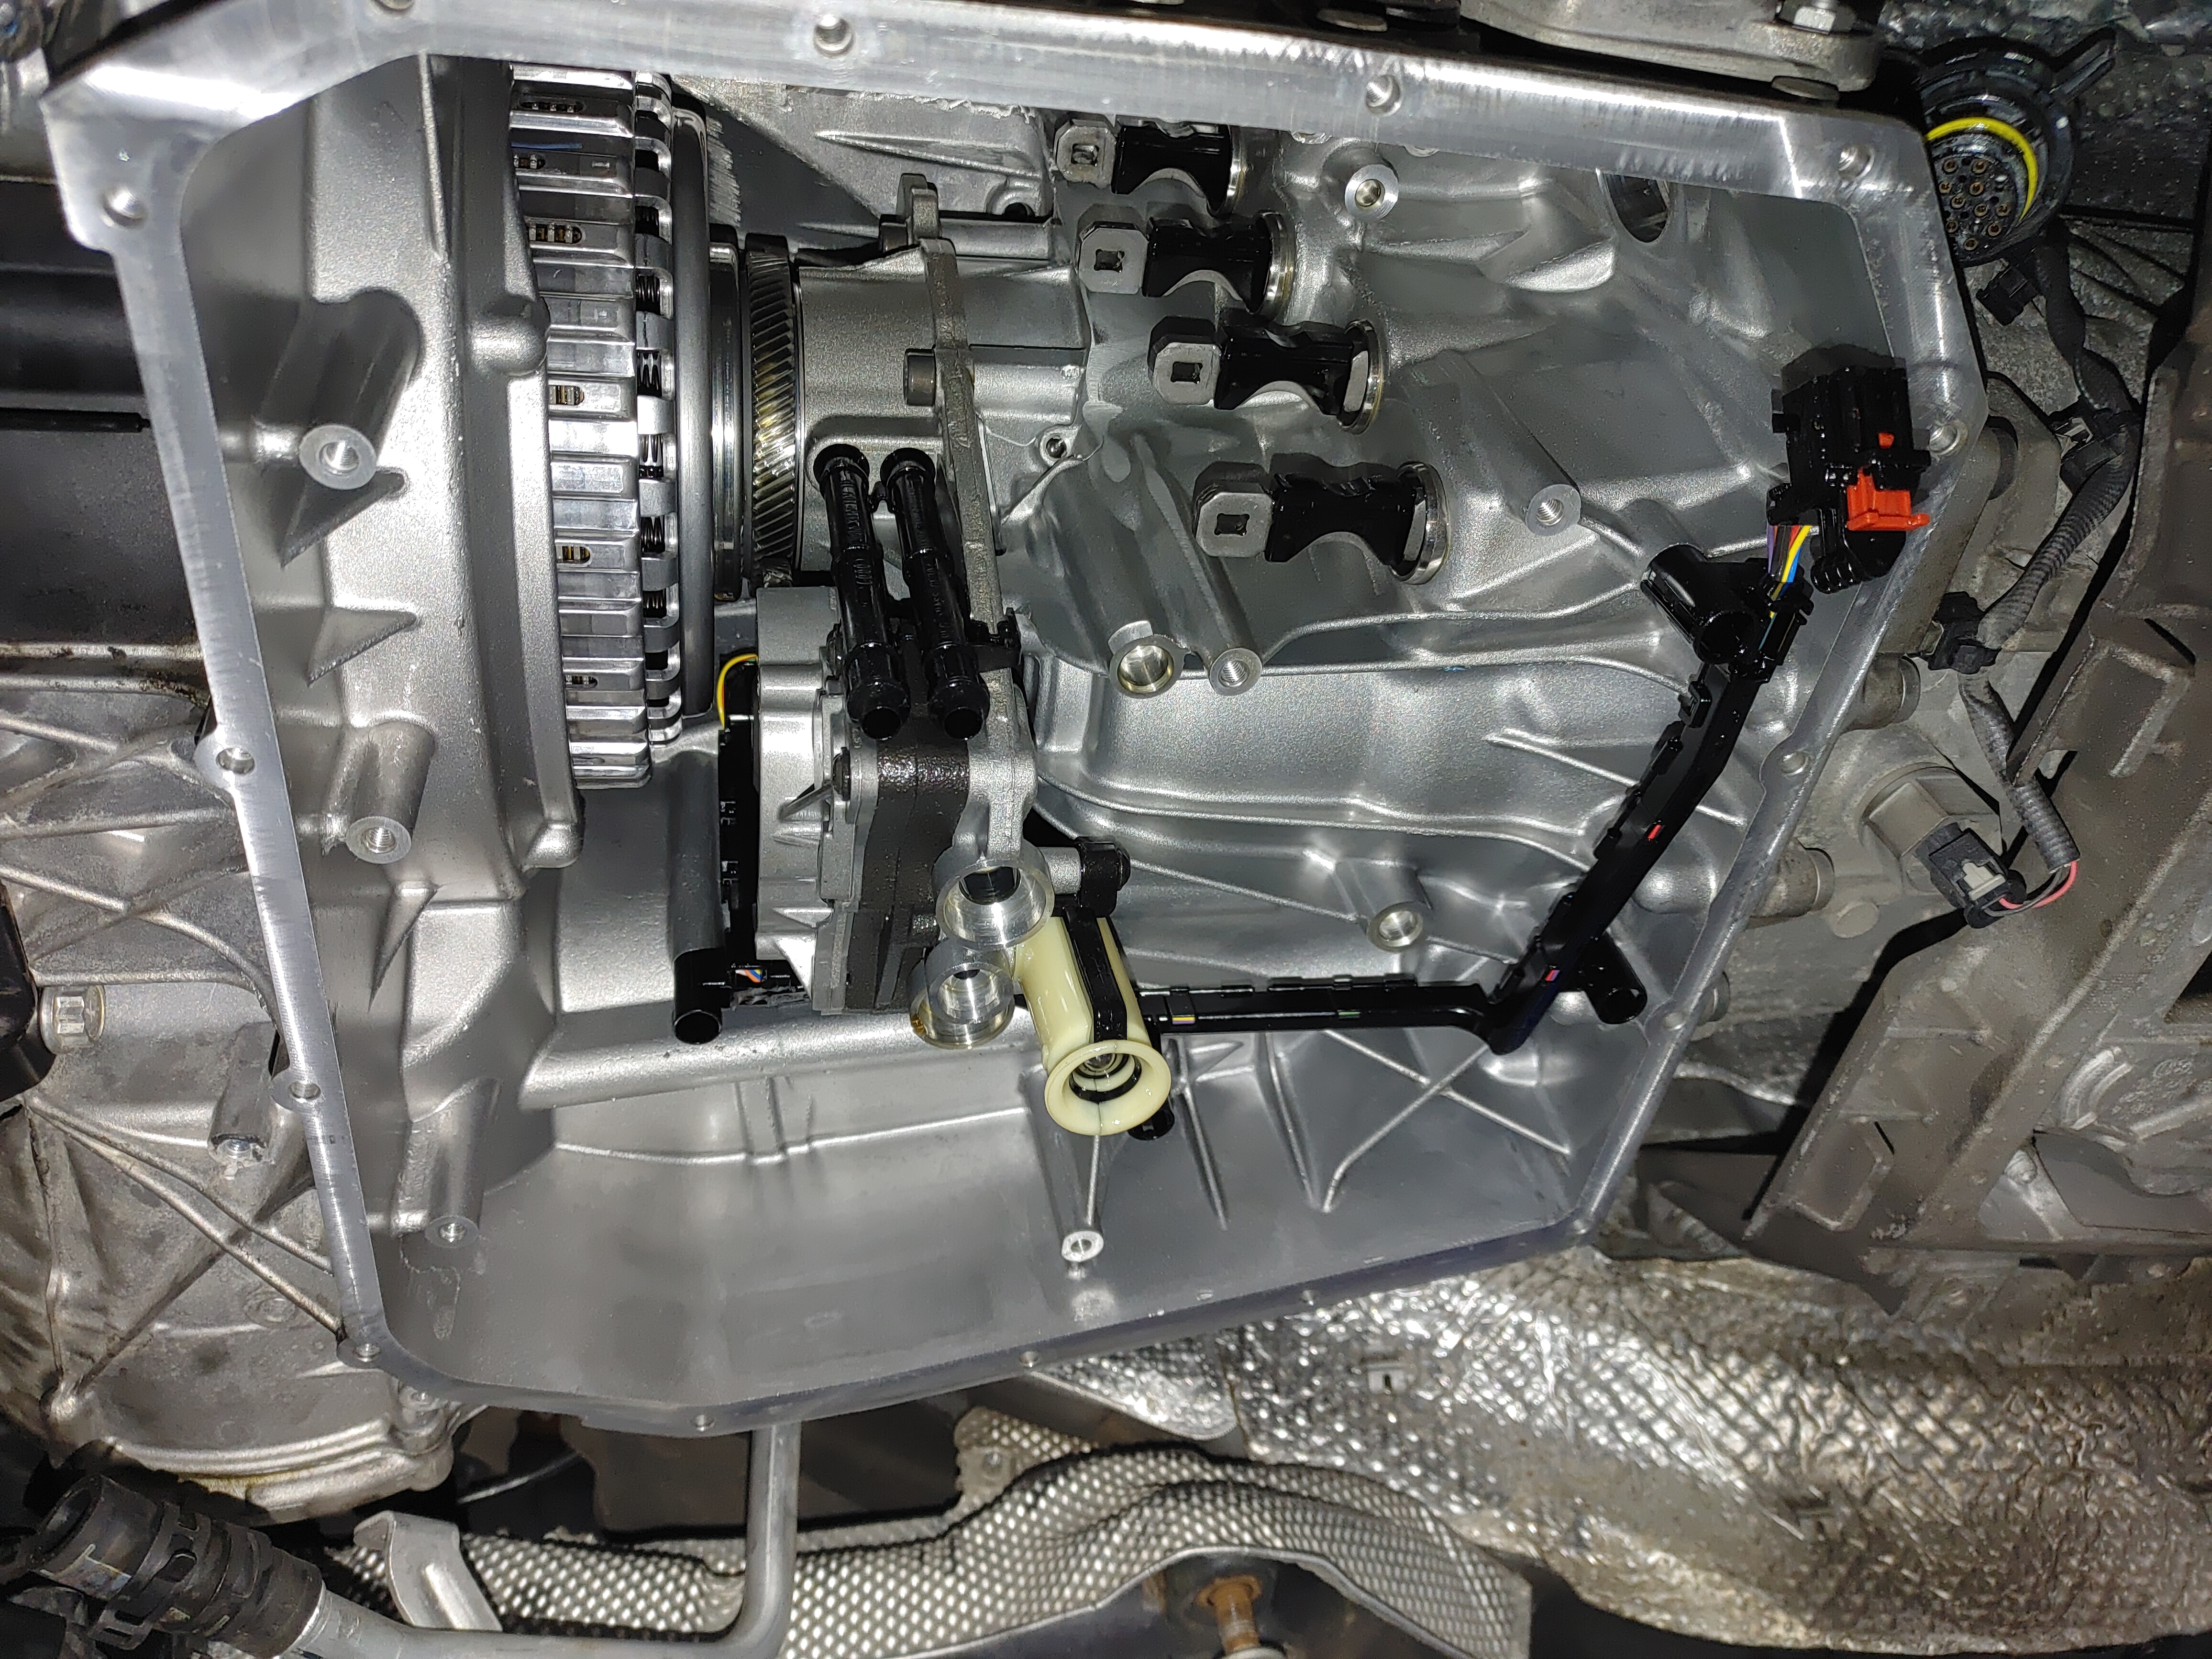 |
| The shift forks can easily be moved and bumped (foreshadowing). Also zip tie the black connector out of the way to assist in the reinstall later. |
The mech unit rebuild was pretty straight forward. Some of the new isolators are cupped shaped instead of little squares. These go on the larger replacement solenoids. It was getting late so I didn't get any pics of the rebuild itself. Reinstallation is pretty straight forward (or so I thought).
After reinstalling pan with new gasket, filling with DSG, the next step is to warm car up to operating temp (DSG between 40° and 60°C), then top off fluid.
Next step was to run all the necessary adaptations using VCDS. OBDEleven can also be used as an alternative.
Instructions for the adaptation can be found here.
Clutch kiss points should also be reset and adapted.
It was at this point everything appeared to go wrong. All of the adaptations kept failing, stating "Aborted, safety reasons." There were no codes coming from the transmission. We though maybe the hood being popped was preventing the adaptions. Close and latched the hood. Same thing. At this point, I decided to shift through the gears and when I put the trans in drive, my instrument cluster immediately lit up.
 |
| Visual of the sinking feeling of my soul. |
After a few minutes of meditation, I proceeded to check codes through VCDS. "Gear 2 shift lever not engaged." Few more minutes of meditation. I had realized what I had done, but it's 11:30pm and knowing it'll be a good two hours for everything to cool down to the point where I won't burn the shit out of myself I called it a night, went home, and drank copious amounts of alcohol.
The following day, I proceeded to drain all the DSG fluid, remove the newly installed pan, have DSG drip on my face once again while I carefully inspected to find this:
 |
| Insert unending expletives. |

So after fixing the misaligned shift solenoid and after reassembly, I found that with very careful inspection, from various angles the shift solenoids engagement can be verified one by one.
No more issues followed. Everything was put back together and the car is shifting smoother. No clutch slipping.


Comments
Post a Comment